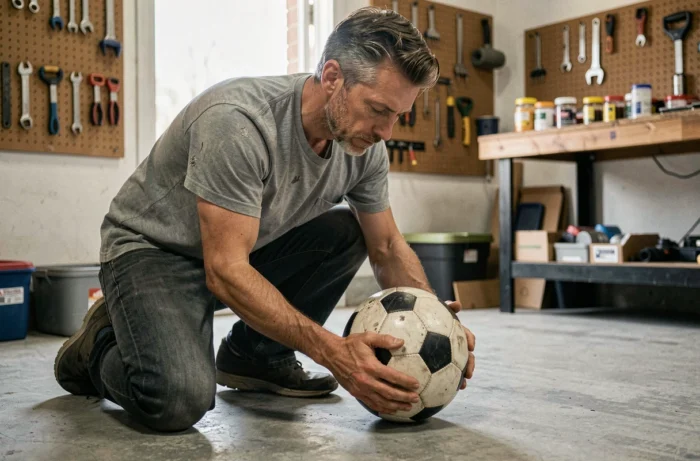
A football that deflates within a few hours raises a simple question: should it be repaired or replaced? The answer depends less on the size of the hole than on the type of ball. Hand-stitched or machine-stitched models, common for training and leisure, are well-suited for home repairs. High-end thermally bonded balls, on the other hand, make the operation practically impossible without industrial tools.
Stitched Ball or Thermally Bonded Ball: Knowing Which One Can Be Repaired
Before reaching for the glue, it is essential to identify the construction of the ball. This is the factor that determines whether the repair is likely to hold or if it is doomed to fail from the start.
| Criterion | Stitched Ball (training, leisure) | Thermally Bonded Ball (competition) |
|---|---|---|
| Panel Assembly | Visible or hidden stitching | Thermal glue, welded panels |
| Access to the Bladder | Possible by unpicking a part | Bladder glued to internal reinforcements |
| Realistic Home Repair | Yes, for micro-holes and small leaks | No, irreversible internal detachment |
| Cost of a New Ball | Moderate | High |
The majority of balls used in the garden, indoors, or at school belong to the stitched category. These are the ones that deserve a repair attempt. For certified competition thermally bonded models, a punctured bladder is practically irreparable at home.
Knowing how to distinguish between these two families prevents wasting time on a ball that will end up in the trash despite all efforts. If the panels appear perfectly smooth, with no stitching relief, it is probably a thermally bonded ball.
To better understand how to repair a punctured football, the first step is always this construction diagnosis.
Locating the Leak on a Football: A Reliable Method
Inflate the ball fully, then immerse it in a basin of lukewarm water, section by section. Bubbles will appear at the site of the leak. The technique also works with soapy water applied with a brush over the entire surface: the foam expands where air escapes.
Leak Through the Valve or Leak Through the Panel
If bubbles emerge around the valve, the problem often stems from a worn seal or a clogged valve body. A simple rinse with clear water or replacing the valve is sufficient in most cases.
If bubbles appear on a panel or seam, the internal bladder is punctured. It is then necessary to intervene on the bladder itself, which requires a bit more equipment.
- Bubbles at the valve: clean or replace the valve with an inflation needle and a bit of saliva or glycerin on the seal
- Bubbles on a seam: the bladder leaks through a weakened stitch, repairable with sealant injected with a syringe
- Bubbles on a panel: micro-hole in the coating and bladder, sealable with a patch or specific patch
Mark the leak area with a marker before removing the ball from the water. The exact location is easily lost once the surface dries.
Repairing a Punctured Football with Sealant
Sealant remains the most accessible solution for micro-holes and slow leaks. It is injected directly through the valve using a syringe, without having to open the ball.
Steps for Repairing with Sealant
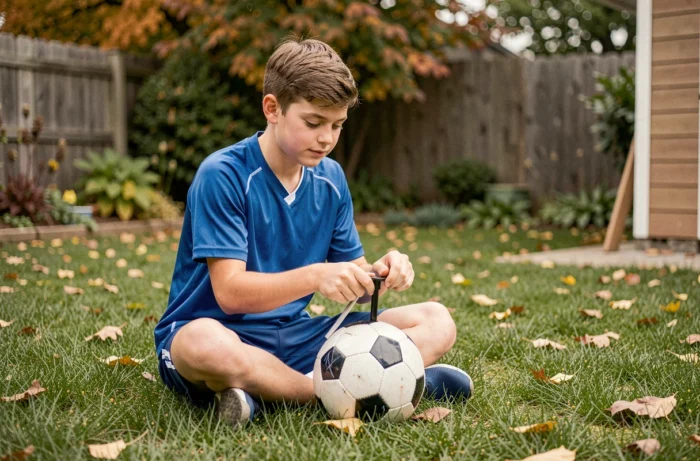
Completely deflate the ball. Remove the valve if it is removable; otherwise, use the inflation opening with a suitable syringe tip. Inject a small amount of sealant inside, then immediately reinflate.
Rotate the ball in all directions for several minutes to ensure the product spreads over the entire inner wall. The sealant only seals micro-holes, not tears of several millimeters. For a clean cut, you need to use a patch.
Let it dry for at least an hour before testing the seal by submerging the ball in water again. If bubbles persist, a second injection may be necessary.
Patch and Glue: Repairing a Visible Hole on the Coating
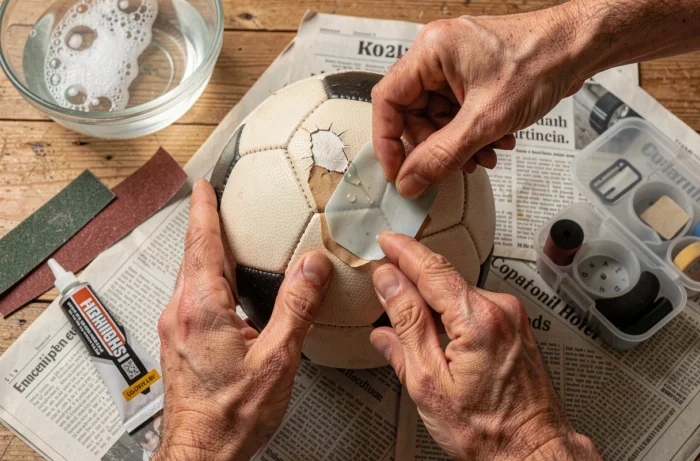
When the hole goes through the outer panel, sealant alone is not enough. A patch must be applied, just like you would on a bicycle inner tube.
Lightly sand the area around the hole with fine sandpaper to improve adhesion. Apply a glue suitable for plastic or rubber (neoprene glue, PVC glue) on the ball and on the patch. Wait for the glue to become tacky to the touch before firmly pressing the patch down.
The patch must extend at least one centimeter around the hole to ensure a good seal. Maintain pressure with a rubber band or a piece of tape during the complete drying process.
Limitations of DIY Patching
An external patch alters the surface of the ball. The repaired area will be slightly stiffer, which may affect the trajectory when kicked. For leisure use, the impact remains negligible. In an official match, a modified ball no longer meets the regulatory characteristics of diameter, weight, and pressure imposed by the laws of the game.
A home-repaired ball is suitable for the garden, not for competition.
Puncture Repair Spray for Balls: A Temporary Solution to Know
Puncture repair sprays sold in supermarkets or online work on the same principle as sprays for bicycle tires. They inject a foam that seals the leak from the inside.
The result is quick, but the spray repair lasts only a few days to a few weeks. The foam degrades with repeated impacts and temperature variations. It is a quick fix to finish a match or a session, not a lasting solution.
- Advantage: no technical skills required, operation in under two minutes
- Main limitation: the foam adds weight to the ball and alters its bounce
- Side effect: the internal residue complicates any subsequent more serious repair
If the ball has sentimental value or a high replacement cost, it is better to go directly to sealant or patching rather than compromising the interior with expanding foam.
A punctured football does not necessarily end up in the trash, provided the right diagnosis is made before acting. Identifying the type of construction, precisely locating the leak, and then choosing between sealant, patch, or simple valve replacement: these three steps are enough to extend the lifespan of a training or leisure ball by several months.